Self-flowering strains usually reach harvest within 8-10 weeks after planting. However, some varieties can take up to 12 weeks to fully mature. Many growers choose autoflowering strains because of their speed. Their hardy genetics make them easy to grow, so they are very beginner-friendly.
Their resistance to pathogens and pests allows them to cope with the challenges of growing outdoors. However, their yields are not as spectacular as some photoperiodic giants, but the compromise made due to the shortness of time is worth the decision for most growers.
LIGHT OPTIONS FOR AUTOFLOWERING STRAINS
As its name indicates, autoflowering strains do not need a change in the light cycle to get into the flowering stage. Many growers choose to keep them on an 18 hours on 6-hours off system throughout the entire growing cycle. Conversely, some growers choose to provide around the clock lighting, hoping to maximise photosynthesis and growth rate, but this can get very costly.
Because of this unique feature, outdoor growers can harvest multiple times during a season. If you germinate seeds from week to week in early spring, you can theoretically collect the first crop after around 8 weeks, and then again every week if you grow faster strains.
SOIL PH
The pH of the soil determines the extent to which plants have access to the nutrients available. If the pH becomes too high (alkaline) or too low (acidic), nutrient blockage will take place and a deficiency will occur. Cannabis plants feel best at soil that is between a pH level of between 6.0 and 6.5. Using a pH tester to monitor the changes in soil pH is absolutely essential..
Follow these error-proof cultivation instructions below from week to week to get to harvest quickly and easily. All the parameters and variables you need to consider are mentioned, so that you, the grower, can keep your plants healthy, vigorous and productive.
WEEK 1:
This first week, the germination and early seedling stage starts with germination, which usually takes between 1 - 3 days. During this time, the seeds are activated, they take root in the soil and shoots begin to rise above the soil’s surface. You need to prepare a suitable soil mixture to start the germination process. Autoflowering varieties do not need as many nutrients as photoperiodic ones, and prefer light and airy soils.
You can make your own potted mix using the following recipe:
· 3 parts compost
· 3 parts peat moss
· 1 part moistened vermiculite
· 2 parts moistened perlite
After preparing the mixture, add some kind of general ( ideally organic ) soil nutrition booting solution to the mixture – these are widely available online. Usually pellets or similar, they slowly release the right amount of nutrients into the soil, providing raw materials and minerals for the entire growing cycle. Add mycorrhiza to the soil so that later on, your plants will bloom properly. These symbiotic fungi bind to the roots and help plants absorb nutrients more efficiently.
Make a 10 - 15mm hole in the soil mixture. Plant the seed directly into its container. Make sure this is the container you plan to use for the entire growing time, to avoid the stress of subsequent replanting that can traumatise and potentially kill the plant. Insert the seed into the hole and loosely cover it with soil. You will see your seedling appear over the following few days.
Environmental factors play a key role in optimal germination. Make sure to ensure the following values to increase chances of success:
· 70 - 90% relative humidity (RH)
· Air temperature 22-25 ° C
WEEK 2:
Known as the late seedling stage, the seedlings will have already emerged and the process of photosynthesis will have begun. The 250W LED light provides enough energy for indoor growth. With this setting, you can grow one large plant per square meter. However, if you use low-stress techniques, you can grow four plants with that much brightness.
LEDs are energy efficient and produce less heat. During the vegetative phase, turn the light blue and set the timer to the schedule you have selected.
You should now start using supplements specifically designed for seedlings in the vegetative stage. Some sort of growth booster soil tablets will provide the plants with everything they need to optimize vegetative growth and will act as perfect complement to any soil pellets as mentioned above. Since autoflowering varieties do not need as many nutrients as photoperiodic plants, they will only need to use around ½ the normal dose. Simply dissolve half a tablet supplement of your choice in 3 - 5 litres of water and apply the solution to the plants twice a week.
WEEK 3:
Week 3 sees vegetation well on its way, and is about low-stress conversions and maintaining optimal conditions. At this point, the plant is well into the vegetative stage. You will experience the formation of new fan leaves that will accelerate photosynthesis. In Week 3, try to ensure the following environmental conditions are consistently met:
· 50% relative humidity
· 20 ° C air temperature
· Nutritional growth boot tablet supplements
Your plant will be about 15cm tall at this point. Move the light so that it is hanging approximately 1 metre away from the top of the canopy – this allows for optimal photosynthesis without the risk of light stress. The plant will be quite thirsty, so will drink about 0.5 litres of water a day. However, water only when the top layer of soil is actually dry. Overwatering can cause just as many problems.
If you are growing indoors, do a low-stress conversion at week 3 to make the plant even more productive during the flowering phase. Simply use soft garden wire to tie up the main stem about halfway up, then gently move the stem parallel to the ground and secure it by attaching the other end of the wire to the edge of the pot. This flattens the canopy and the light source reaches more bud sites.
WEEK 4:
By week 4, the late vegetative / pre-flowering stage, your plant is nearing the beginning of the flowering phase. This week consists of a few minor modifications and preparations for flowering. Aim for the following environmental conditions for optimal growth:
· 45% relative humidity
· 0.5 litres of water every 24 hours
· 20°C air temperature
· Light source 70 cm from the canopy
· Growth boost supplements
The formation of some growth at the nodes ( the nodes are where any two branches intersect off the main stalk ) of the plant will slowly become noticeable. Since the flowering phase is already just around the corner, you will need to tie down the additional shoots with string to flatten the canopy and keep all future buds at the same level.
WEEK 5:
Flowering begins. During the 5th week, small sack-looking growths covered with hairs appear at the nodes. These will go on to become resinous and sticky buds. The adjustment of ambient conditions and lighting should continue this week. The plant will then be about 30cm tall. Target the following parameters when growing indoors:
· Light source 65cm from the canopy
· 1l of water every 24 hours
· 45% relative humidity
· 23°C air temperature
· Growth boost supplements
Change the LED light from blue to red. This light spectrum actually stimulates the budding process and helps the plants to expand and fan out in the early flowering stage.
It will be necessary to adjust the nutrition of the plants during the flowering stage. The plants will require more magnesium, phosphorus, calcium, potassium, and less nitrogen, you will need supplements ( such as “easy bloom” or similar ). Simply dissolve one tablet in 3-5 litres of water and add the mixture when watering the plants.
WEEK 6:
Things begin to get pungent… Flowers multiply at each bud. You will notice that the transformations live up to their expectations, as a uniform canopy allows for the even propagation of buds of uniform size. During week 6, it is advisable to slightly reduce the humidity to minimise the risk of mould.
Set these optimal parameters:
· Light source 45cm from the canopy
· 24°C air temperature
· 40% relative humidity
· 1.5 litres of water every 24 hours
· Easy Bloom (or similar ) tablets
Watch out for any weird banana-like structure protruding from the buds. This is indicative of the plant being a hermaphrodite, and attempting to pollinate itself. Remove them from the entire growing area to prevent pollination of nearby plants. Fortunately, hermaphrodites are very rare, but it is always important to keep an eye out for them.
WEEK 7:
The purpose of the seventh week is maintenance. Focus your time and energy on keeping the growing space in balance. In particular, make sure that the humidity is not too high, as this can cause mould problems. Perform a routine check with a magnifying glass to look for pests such as spider-mites and thrips. Continue to check the leaves for signs of nutrient deficiencies ( which may be due to pH problems ). Try to maintain the following conditions:
· Light 45cm from the canopy
· 40% relative humidity
· 24°C air temperature
· 1.5 litres of water every 24 hours
· Easy Bloom (or similar) tablets
WEEK 8:
Flushing and defoliating are the tasks for this eighth week. Buds will be resinous and thick by this time. Most autoflowering plants will soon be ready for harvest. If the plant doesn’t seem to be fully there yet, then fear not. Simply repeat week 7 and only continue to follow week eight’s instructions after the buds have fully grown.
Checklist for week 8:
· Light 45cm from the canopy
· 25°C air temperature
· 40% relative humidity
· 1.5 litres of water every 24 hours
Begin flushing the plants at the beginning of week 8. First, at this stage, is to stop feeding the plants. Then, simply pour as much water into the soil as it can hold and wait for it to drain. Repeat this process for the next fortnight. Rinsing like this removes the build up of excess nutrients and gives its buds a clean and smooth taste.
Next, grab your plant trimmers and commence defoliation. This method is particularly effective together with low-stress training, helping to increase yields even further. Chop away the smaller fan leaves from the lower nodes as well as any sad less-than-healthy looking ones near the top of the plant. Doing do assists with maximising light exposure and reducing the risk of the plant developing mould.
WEEK 9:
Approaching the finish line. All the previous weeks’ of hard work and dedication will soon pay off in the form of resinous, juicy buds. There remain just a few essential tasks left to ensure absolute success. Make sure to keep these environmental factors in check, so as to avoid any last-minute infections or other problems:
· Light 45cm from the canopy
· 25°C air temperature
· 40% relative humidity
· 1.5 litres of water every 24 hours
You may find that the fan leaves are starting to discolour and may even fall off. This is entirely normal and not a cause for worry. This simply means that you have successfully flushed your plants well, and are now only a mere hair's breadth away from harvesting.
WEEK 10:
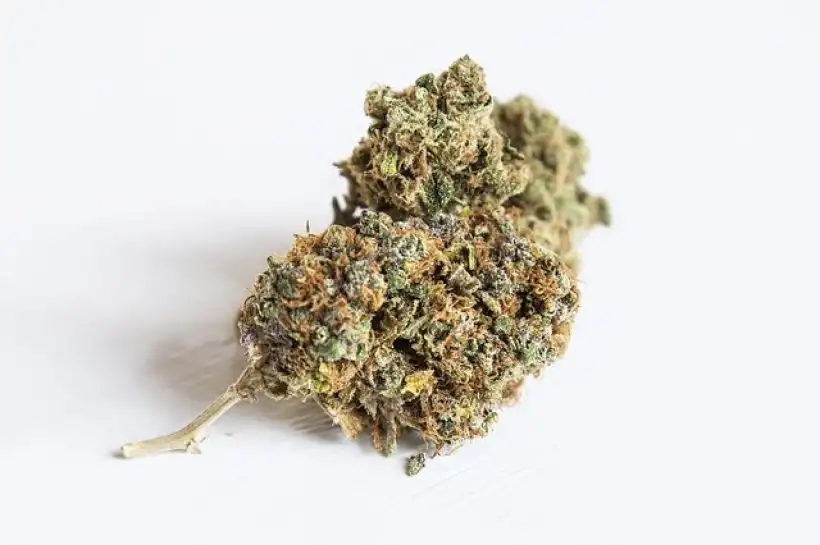
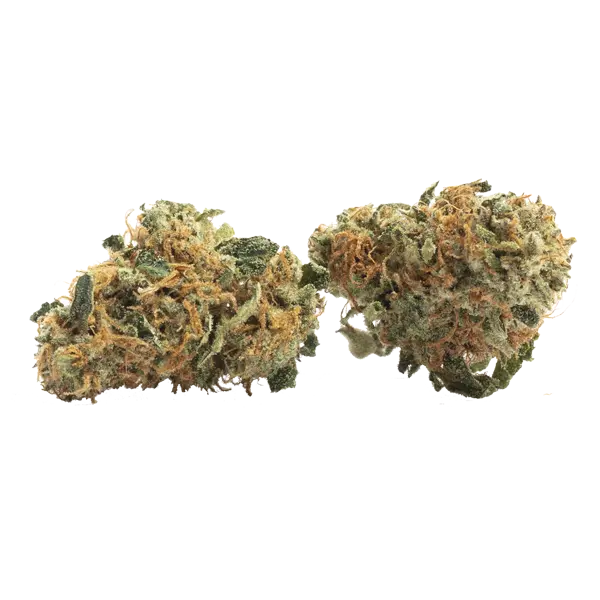
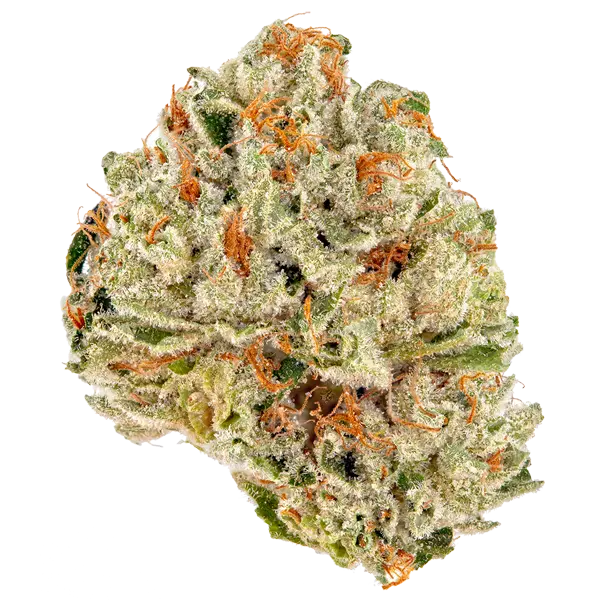
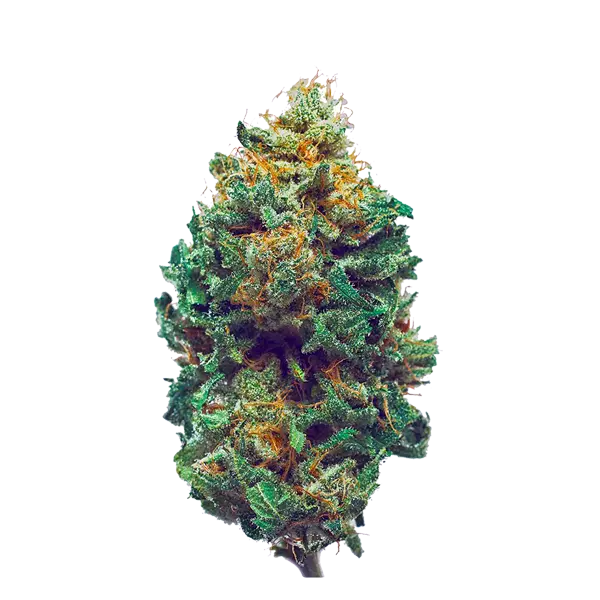
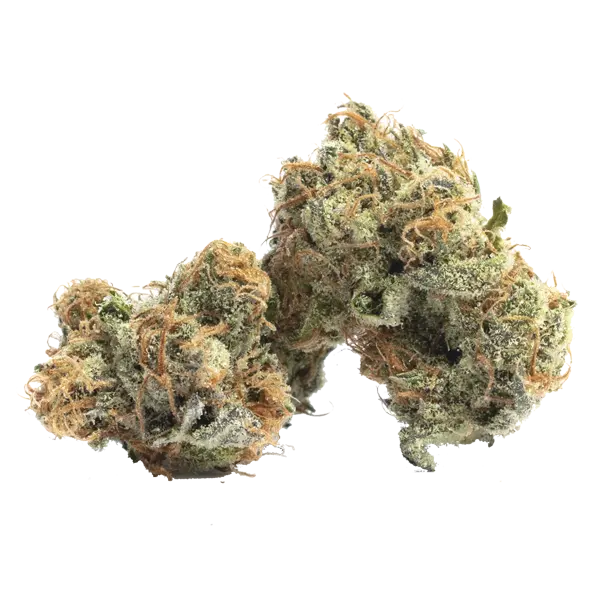
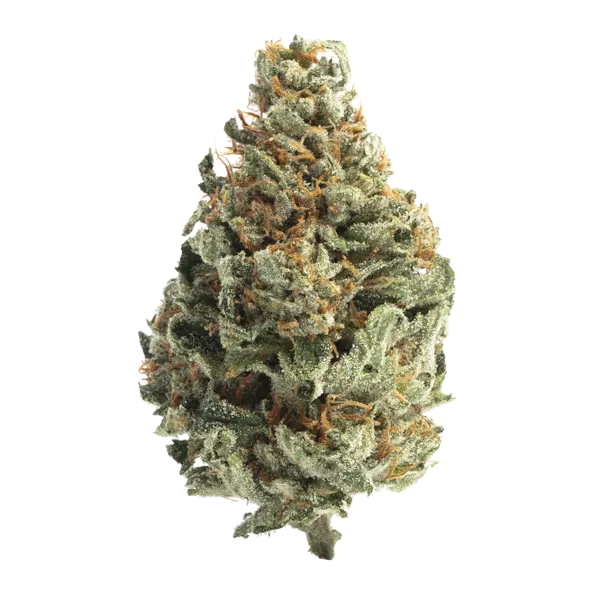
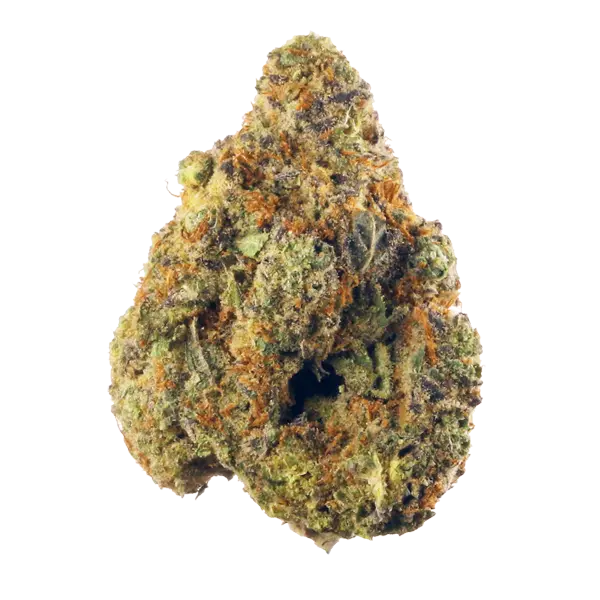
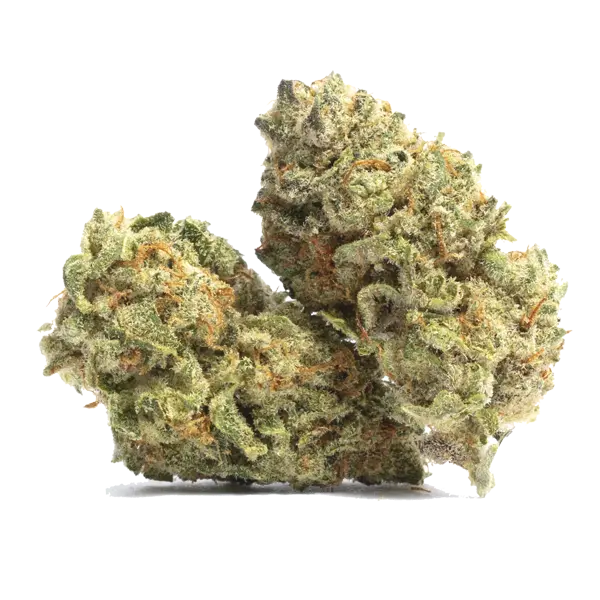
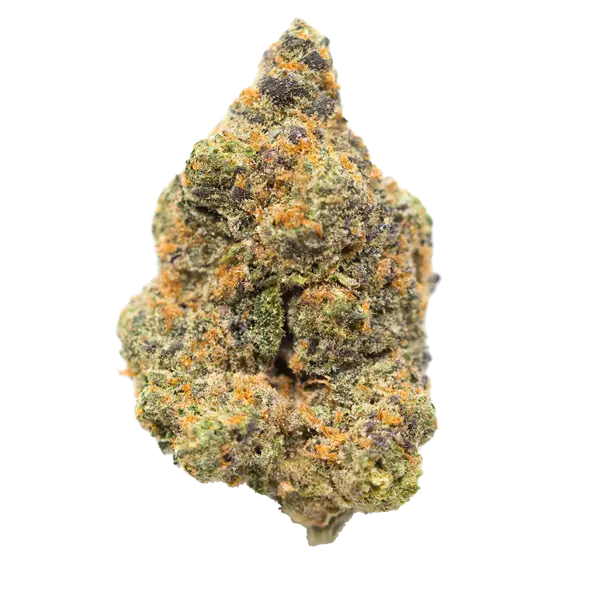
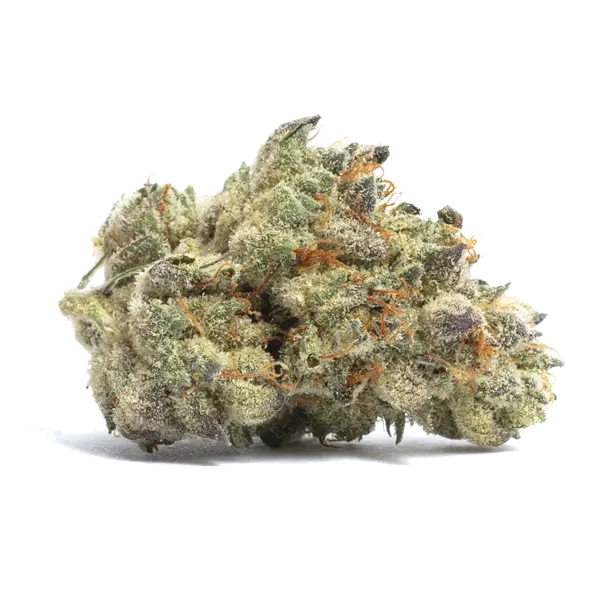
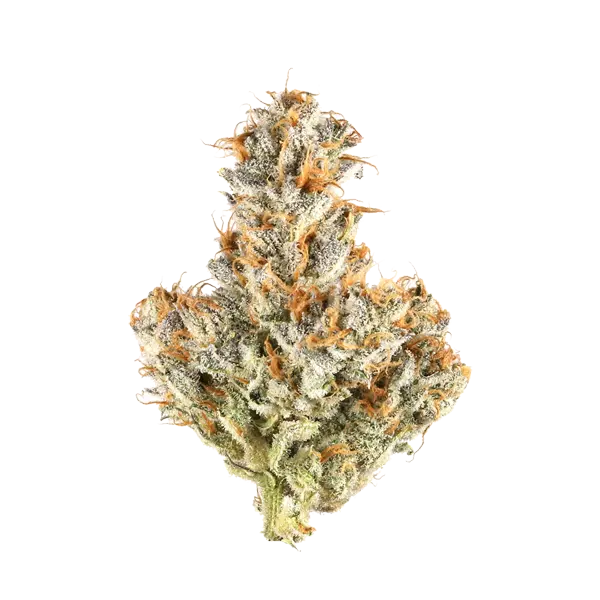
Harvest time! Many autoflowering strains are ready to harvest by the 10th week. When the colour of most trichomes becomes milky white and the pistils take on a reddish / brown hue, you will know that the buds are ready to be cut off.
If you notice that some of your buds are ripe and others are not yet, try progressive harvesting. Usually, the buds that are closer to the top of the canopy will mature first. Even if you have flushed your plant perfectly, it is natural that some buds will be closer to the light than others.
Don’t worry if your plant is behind or ahead of target at this point. Some autoflowerers grow faster, others slower. Slower-growing strains may take more time to ripen, while others may be ready sooner.
After harvesting the buds, you will be ready to begin drying and curing them for a delicious, high-quality end product.


 Top 10 Mistakes That Noobs Make Whilst Cooking With Cannabis
 SOG & SCROG - Cannabis Training Techniques for Producing


